Scrapbooking Global Blog Hop July 2021- Four Seasons
- Sharni Haines
- Jul 15, 2021
- 4 min read
Updated: Aug 13, 2021
Hello lovelies,
I'm Sharni Haines from South Australia and welcome to our monthly Scrapbook pages blog hop. I am glad you have joined me to hop all around the globe and check out some inspiring pages.
You may have started here or come from the talented Cheryl I got to choose this month's theme and I decided upon the four seasons - Summer, Autumn, Winter & Spring. Not everyone experiences all the four seasons where they live, so you can either celebrate all four on one page, or focus on just one season.


Here is our beautiful and incredibly talented Scrapbooking Global - Stampin' Up! Creative Team.

My page was inspired by another page I saw on Pinterest by Paige Taylor Evans. The colours and the layout was just the sort of thing I wanted to do with my 4 Seasons.

I divided up my 12"x 12 White piece of card stock into four segments. Each 6"x 6" quarter represented a season.
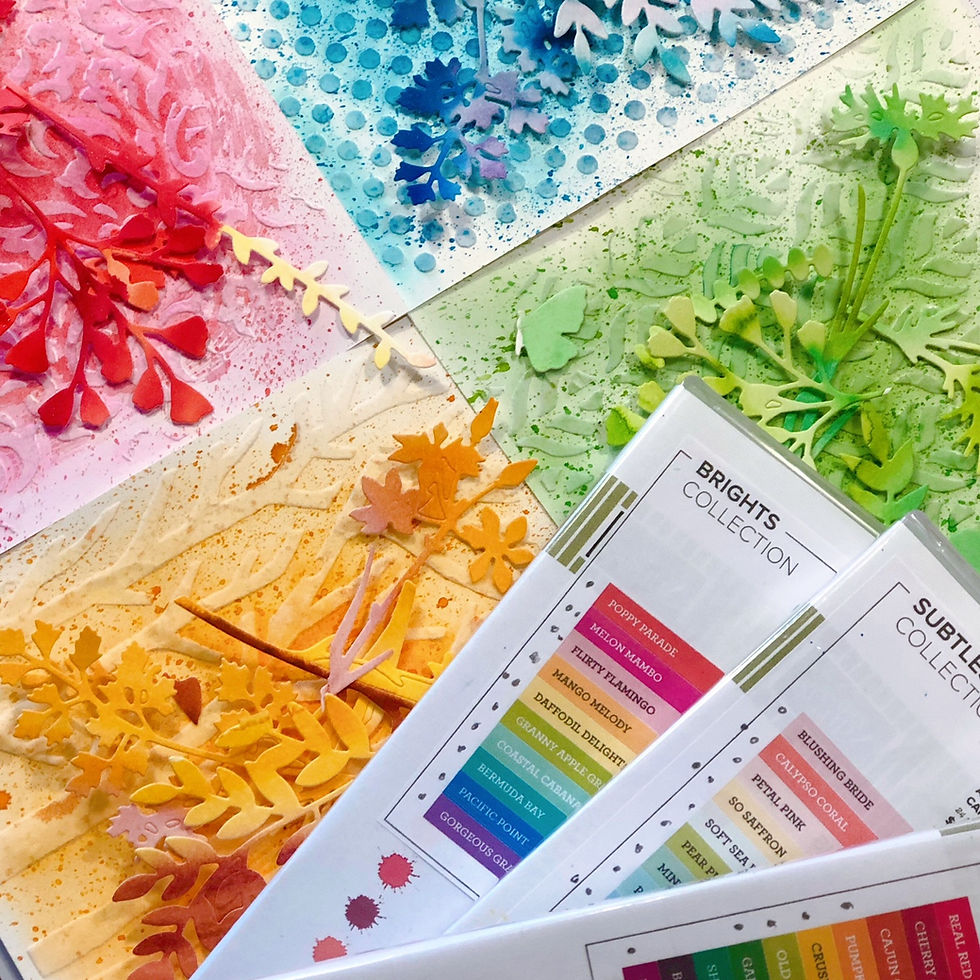
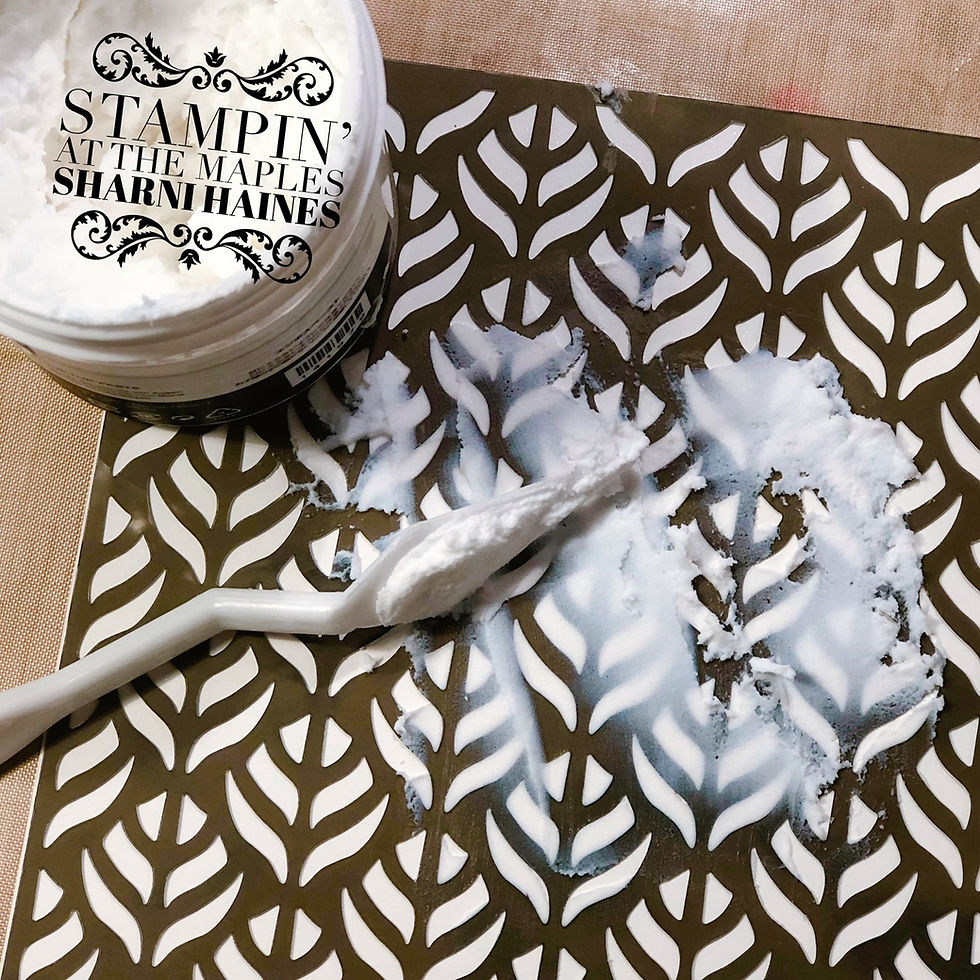
I then cut 4 pieces of 6"x 6" Shimmery Paper and embossed each one with the White Embossing Paste and a Decorative Mask. (I used a mix of masks, some retired.)
The winter quarter, I used the polka dot mask.

Once I had dried the embossing paste, I choose my colours for each quarter. Each quarter was splattered with a mix of colours using my re inkers and a Water Painter brush.

With the left over pieces of Shimmery White Paper, I coloured them with the re inkers and used dies to cut out foliage shapes.


The completed page looks like this.
The four photos are from my garden, taken over the last 4 seasons of this and last year.

This is how I embossed all the quarters, using Embossing Paste & the Decorative Masks. The masks and tool need to be washed immediately after use or the embossing paste will set hard onto them.


After I flicked/splattered ink over the dried embossed quarters, I used the Blending Brushes and ink pads to add some colour over the top of the embossed images.


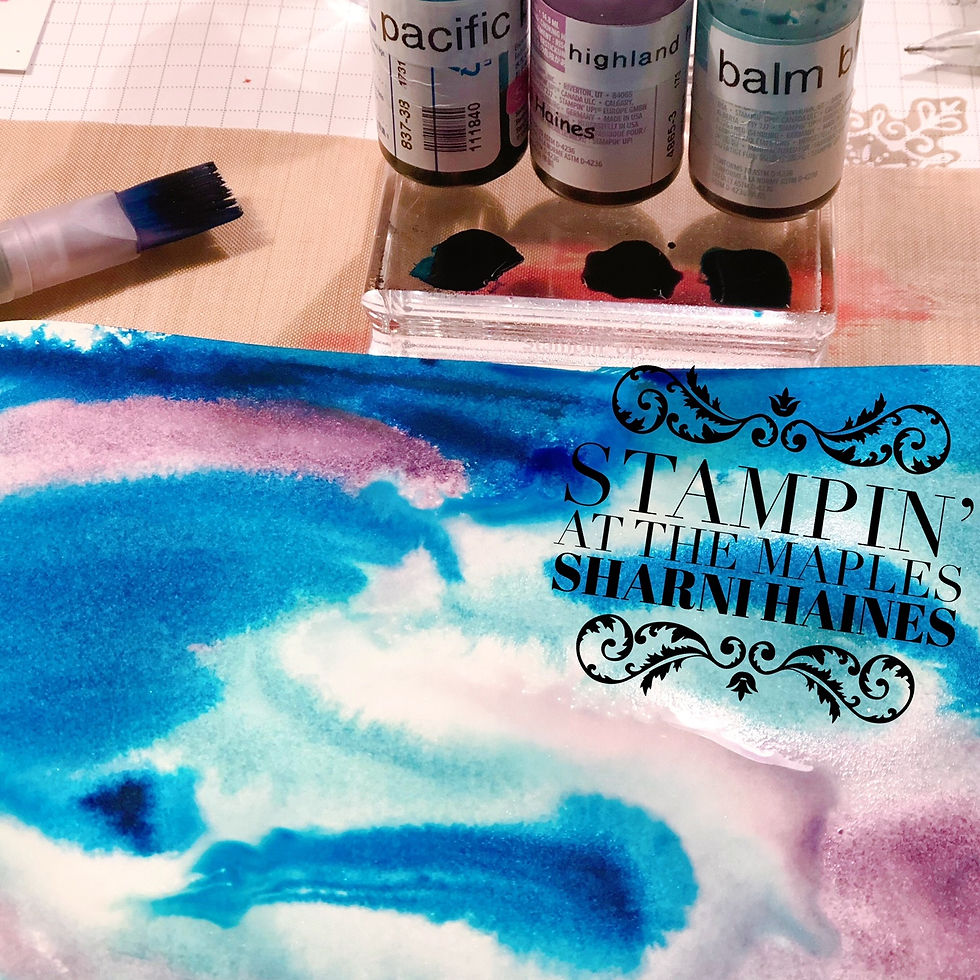
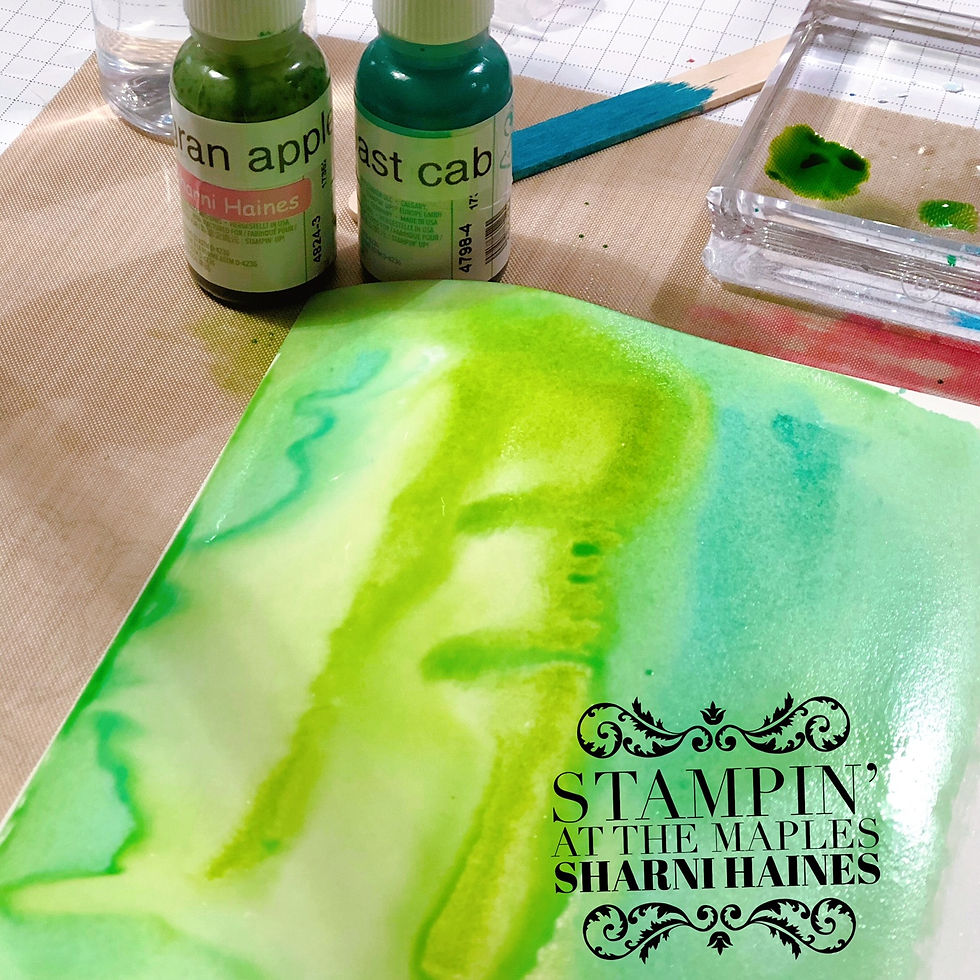
This is how I added colour to the left over pieces of Shimmery White Card stock - I dropped a few drops of ink onto a clear block and brushed the colour onto the paper that had been wet with a bit of water from a spray bottle.
I then dried with the heat gun.

I used the Meadow & Forever Flourishing Dies to cut out all the shapes for all four quarters.

Here are some close ups of each quarter - Winter - this is a crab-apple tree that I view from my craft room every day. It's hard to believe that this tree has the most spectacular soft pink blossoms on it every September.

I took the photo through my window yesterday, as I needed a winter photo and with all that fog in the background, I thought it was a pretty dramatic shot depicting a true winter feel.

Spring was my favourite quarter and photo. This is the same tree, but now in full blossom.
I added Opal Round to each quarter for a little bit of bling, they remind me of water droplets.

Summer - all my Roses and Clematis are out in full bloom, this is Pomponella, one of my most favourites. I will list all the colours I used for each quarter at the end.

Autumn in the Adelaide Hills is quite spectacular, there are reds, pinks, purples, oranges, yellows and browns. Here I captured the row of Pleached Pear Trees with the sun shinning through the leaves.
You may have noticed some black & white Designer Series Paper - Beautifully Penned, that I have matted my photos onto - this is one of the FREE products you can earn with a $90 shopping spree during the months of August and September this year, during Sale-A-Bration.

I really enjoyed this page and I hope it has inspired you to try something different too?
It was so much fun and I am looking forward to seeing what everyone else has created, don't stop here..here hopping to see what beautiful project is next from our design team.
Thank you for your comments, they always make me smile!
Loves & hugs,

Up next is RaeJean and her beautiful project, please use the NEXT button to follow on the blog hop…
SPECIAL OFFER
If you order $50 or more from me from now until 30th July, I will send you a card kit (stamped images not included) all die cut out ready to make, envelope included as well as my normal blank thank you card, small gift and The Dimensionals 3D Tutorial Bundle consisting of 4 fabulous tutorials. Now that's a great deal!
* Join my beautiful Angel team Here.
* Watch my Tutorials on my You Tube
* Want notifications sent to you with my new Blogs? Here
* View the Annual Catalogue
* View the July-December 2021 Mini Catalogue
* Go to my online shop
SOMETHING FOR YOU
A little something special for you...I am fortunate to be part of a fabulous design team who create beautiful 3D projects each month. These projects are available to you as a lovely bundle for the cost of a coffee & cake..but last much longer!
(They are yours FREE with an order with me over $50 or if you are one of my FABULOUS team members.)
Purchase your Tutorial Bundle HERE.$15 Aust
( All graphics for The Dimensionals are from the PNG Tree.)
(Icon graphics are from the PNG tree.)
Products I used today.
My online shop is HERE. (remember to leave your contact details). Or you can contact me directly via email or text.
Life of Charlie

Coffee morning outing...they say owners can sometimes look like their pets!! lol (I choose my scarf before Charlie got dressed...true!)


.jpg)
.png)
I adore everything about this page! The texture, the colours, the layout x
What a dramatic layout. Can't say enough about how beautiful it is. So many techniques use d to highlight each season. You really pulled out all the stops. This is a piece of art!!
Thank you for sharing all the details. Definitely need to give some of these techniques a try.
Love your page you have captured all the seasons perfectly - one day I will get to visit your beautiful space
love your seasons page. I think you really did choose matching colours. Charlie could have worn her pink jumper. haha. xxx
Jaw droppingly incredible. I'm so in awe of your amazingness. And what a garden toooooo - words are so inadequate! I love all the colouring and splattering and the multicoloured die cutting and the embossing texture and the extra bling and the little season name labels. So much sublime inspiration.