The Dimensionals April 2022 Alternative Projects (for the March Flowering Fields) -Blog Hop
- Sharni Haines
- Apr 14, 2022
- 6 min read
Updated: Apr 15, 2022
Hello lovelies,
welcome to The Dimensionals Tutorial Blog Hop for March. We are a team of 4 demonstrators from Australia who love to create 3D cards and paper projects.
This month we have created 4 new Alternative Projects based on our March Flowering Fields 3D Folds to share with you.
If you have our March Flowering Fields Tutorial Bundle, you will now have 4 more alternative designs to create with the same 3D folds! Fabulous Value!
If you wish to create these 4 new extra folds, and receive the 4 original designs, you can still purchase the March 2022 Flowering Fields Tutorial Bundle HERE. (In Bronwyn's Shop).
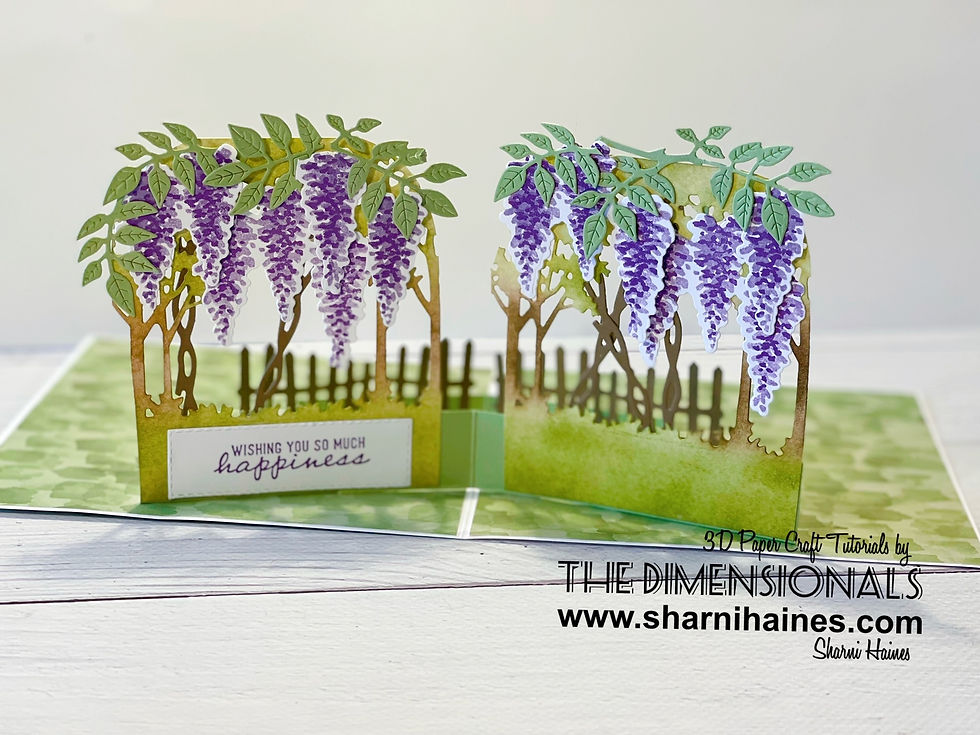
I have used my original fold from last month - a Dual Pop Up Card, but this time, brought in some new products coming out in the new Annual Catalogue (products available from May 3). I have used the Wisteria Wishes & Wisteria Dies.
I really love wisteria, and have an abundance of many varieties in my garden...White, Pink and numerous shades of Purple. So when I saw this this Bundle, I knew I had to have it!
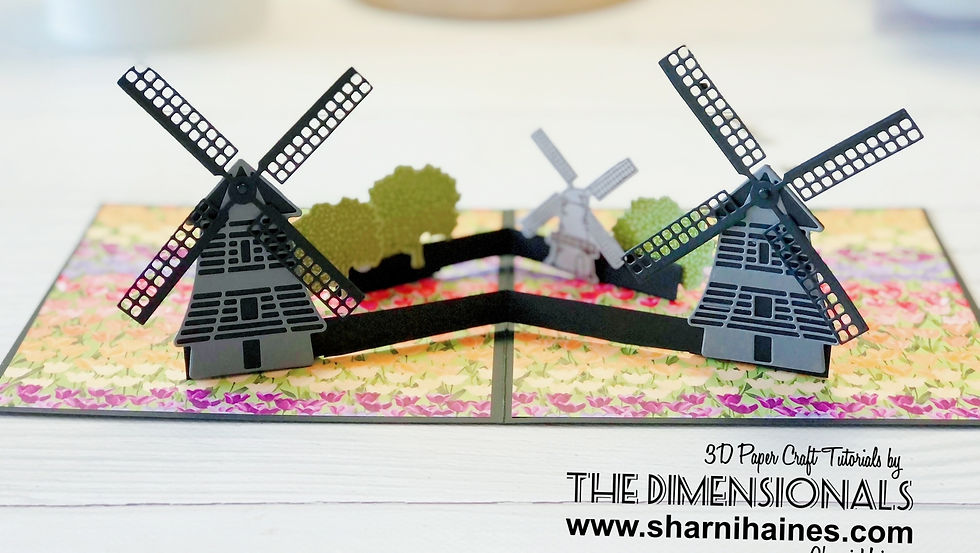
To be able to create this card, you might like to use my original design from last month where I posted HERE. (You will also receive 3 other gorgeous 3D designs from our team).

If you have already purchased our March Tutorial Bundle, then this card is another fun alternative and I will now give tips for those who have...
Cut out two Die cuts of the Grove Dies from Shimmery White Cardstock - allow at least 1" or 2.5 cm of excess paper at the base (see photo above).
If you have the instructions for my original card, you will need to widen the first Pop-Up Fold Tab A to 2" and score at 1" for the whole length. This will ensure the Pop-Up Tab can carry the excess weight of the wisteria flowers and leaves.
(I used Pear Pizzazz Cardstock for both Pop-Up Tabs).

2. Colour the two pieces with Pear Pizzazz & Soft Suede using a Blending Brush. Then trim off the excess parts off the sides as shown in the photo above.

3. Stamp the wisteria flowers using the Wisteria Wishes Stamp Set (available from May 3rd), first with Highland Heather, then over the top with the single stamp using Gorgeous Grape. Die cut out them all out with the coordinating Wisteria Dies (available from May 3rd).
You can also cut out the leaves using Pear Pizzazz Cardstock & arrange everything so it looks like the design pictured. I have used Dimensionals for the second layer to build up a second layer and also cut apart some of the wisteria flowers so they are individual to fit my design.

4. I stamped a sentiment using the On the Horizon Stamp Set with Gorgeous Grape Ink. I die cut this with the Stitched Rectangles Dies. In the background, you can see the fences die cut with Soft Suede Cardstock using the Horizon Dies.
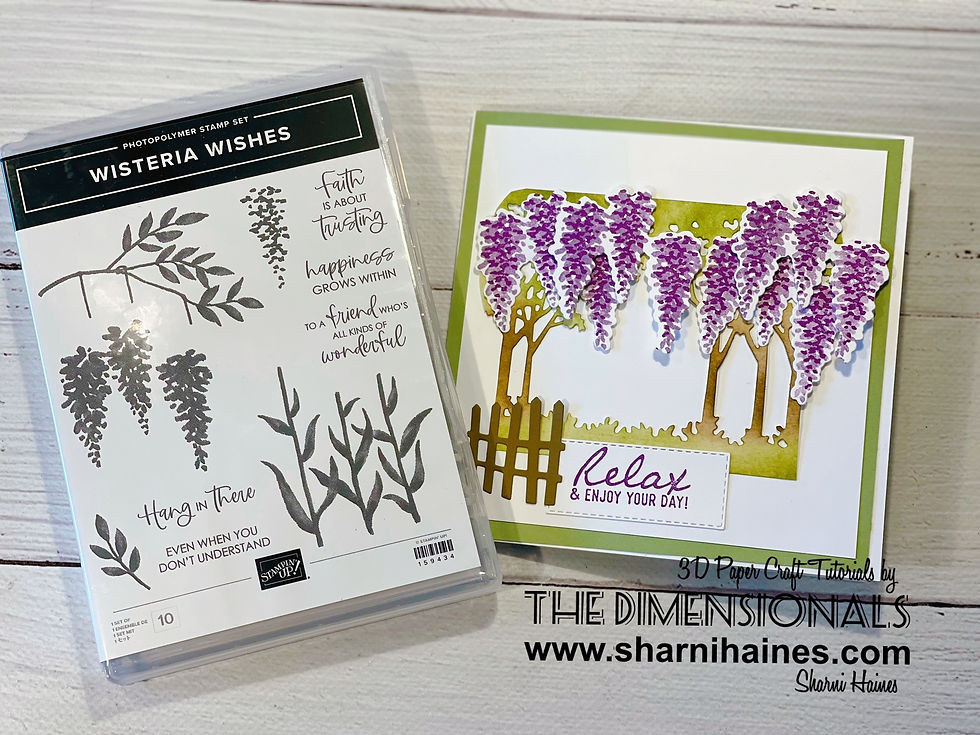
This is the front design of the 6"x 6" card.

I just wanted to add that I added 5 x wisteria 'vines' behind the frame using Soft Suede Cardstock and the Wisteria Dies. I felt this gave a more 'wisteria look' and more support to the structure.
Well, that's my lot for now. Thank you for stopping by. Please continue our little hop to view what my three very talented Aussie friends have to share with you our April collection.
Next up is the lovely Lou and her stunning project.
Our love of 3D paper creations is going strong and we would like to thank you for spending a few dollars each month (cost of a coffee & cake!) purchasing our beautiful tutorials. Your ongoing support is appreciated and we LOVE seeing what you have made from our unique and original creations.
We spend hours, days and even weeks sometimes thinking, planning and creating our projects for you, then we re-make them, photograph them and turn them into easy to follow step by step instructions just for you.
Believe me, it is a labor of love!
If you have not purchased any of our previous Tutorial Bundles yet, there is still time...why not treat yourself and get a whole bunch of bundles? Who wouldn't love to receive a hand made gift like this?
There have been some beautiful re-creations some of you have posted on Face Book and you will see them all on our private Facebook group once you have the bundle(s). Come join our group, we would love to see you. x
WAYS YOU CAN GET THESE AWESOME TUTORIALS
1. For every purchase of $50 + of Stampin’ Up! ® products placed through my on-line store or through my stamp classes this month (Australian Residents Only), I’ll email you the entire bundle for FREE as a ‘thank you’ for shopping with me!
2. Join my team and you will receive these bundles free every month!
3. International and local residents have the option to purchase each tutorial bundle outright for ONLY $15 (AUD). Just click on the link below to take you to our Tutorial Store –
After your Pay Pal purchase, a receipt will be sent to your email with a link to download all four/FIVE PDF Tutorials. If you don’t have a Pay Pal account and would like to access this amazing offer, please contact Bronwyn so she can send you an invoice via your email address. After payment goes through, the bundle will be emailed directly to you.
Purchase your March Tutorial Bundle HERE.
You’ll also find The Dimensionals on:
Look out for hashtags on INSTAGRAM too - #thedimensionals #3dpapercraftsbythedimensionals
Once you have purchased your first bundle or earned one for FREE, we’d like to invite you to join our Facebook Community where you’ll be able upload photos of YOUR projects inspired by our tutorials, chat to the designers, ask questions about a technique etc. Once you are a member,you can remain a member, no monthly subscriptions are necessary! You will also go automatically go into a monthly draw to win future monthly Tutorials. We’re really looking forward to sharing the love of 3D paper crafting with you.
Please note, we work hard to create these tutorials and love that you love them too! ....
"Each tutorial in the bundle may not be reproduced, shared or resold in paper or electronic form (eg: Email, message, groups, pages, blogs, videos etc). However, Stampin’ Up! ® Demonstrators/Paper Craft Tutors may use them as a printed reference at face to face events only. Just to clarify even further, please do not replicate our designs for your self promotion. For example, your Facebook Lives or your You Tube Videos should contain YOUR designs NOT OURS!"
Thanks for visiting, have a wonderful day!
loves and hugs,

* Want to order anything? Please do! Just go to my shop (please leave your name so I can send you a big thank you in the post and any rewards you have earned through me!)
* Join my beautiful Angel team Here.
* Watch my Tutorials on my You Tube
* Want notifications sent to you with my new Blogs? Here
* View the Annual Catalogue
* View the January - June 2022 Mini Catalogue
* Go to my online shop

New Annual Catalgue goes live May 3rd
Would you like to become one of my valued customers? If so, I can send you a new Annual Catalogue for FREE, Australia wide. Let's get in touch. sharnihaines@gmail.com
The current catalogue retires end of April, so grab any favs before they go! Click on the graphic above to see what's left.
SOMETHING FOR YOU - April 2022
Thank you gifts from me when you order over $50
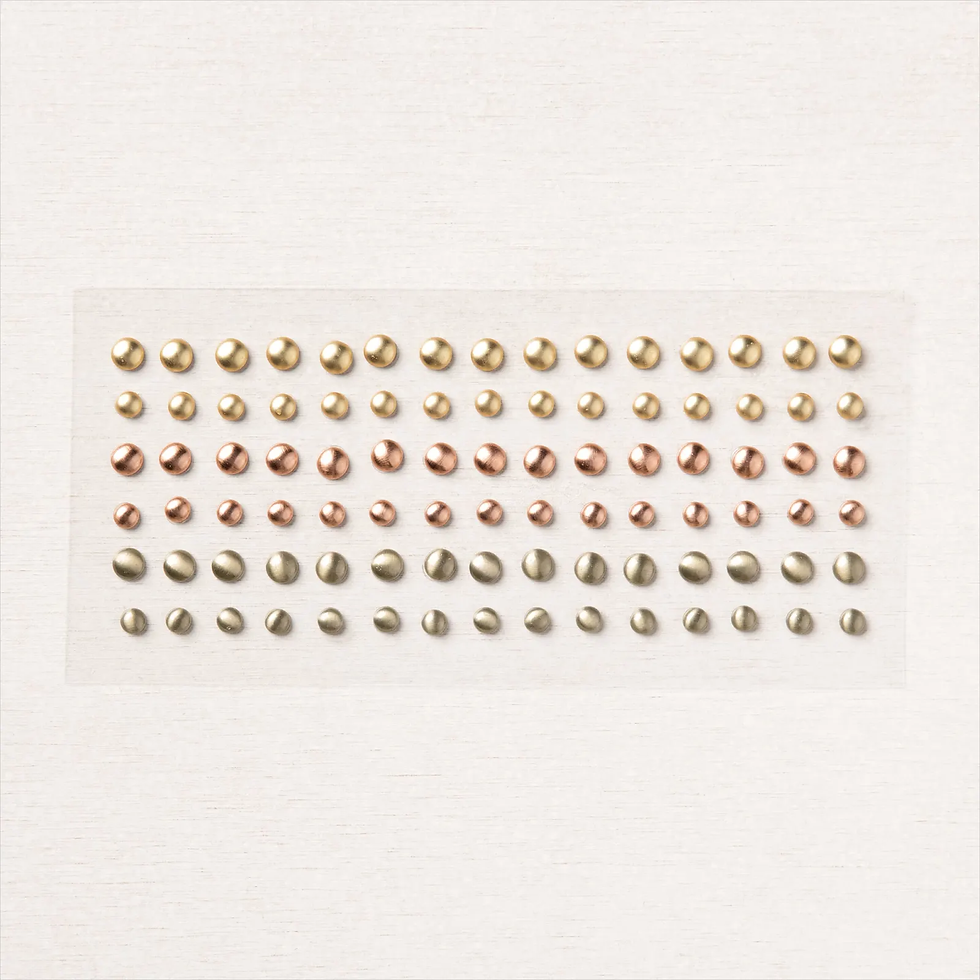
a thank you gift of BRUSHED METALLIC ADHESIVE BACKED DOTS (valued at $15.75)
a beautiful handmade card by me
An invitation to join The Pink Lounge on Facebook.
4 Tutorials from the Dimensionals 3D March Tutorial Bundle (Valued at $18)
When you order over $90
a thank you gift of BRUSHED METALLIC ADHESIVE BACKED DOTS (valued at $15.75)
a beautiful handmade card by me
An invitation to join The Pink Lounge on Facebook.
4 Tutorials from the Dimensionals 3D March Tutorial Bundle (Valued at $18)
18 Card & Paper Project Tutorials from the Stampin Glam Squad! (Valued at $28)
a card kit with tutorial
I will send your free Tutorials at the end of the month.
( All graphics for The Dimensionals are from the PNG Tree.)
(Icon graphics are from the PNG tree.)


.jpg)
.png)
Oh my! Love this Sharni. Such a fab fold and looks fab with the wisteria. x
wow. this is so lovely..and so you. xxx
Oh my goodness! This is simply AH!mazing.